
Your security camera is black and white because it has switched to infrared night vision or is not getting enough visible light.
If you are wondering why is my security camera black and white, the answer is often simple: the camera cannot see enough color in the dark. However, poor settings, weak infrared lights, damaged cables, or a failing image sensor can also cause the problem. This guide explains each likely cause and shows you how to restore color when possible.
Why Is My Security Camera Black and White?
Most security cameras use color during the day and black-and-white video at night. This change helps the camera create a clearer image when light is low.
Color needs visible light. At night, the camera may not have enough light to separate red, blue, and green tones. It then switches to monochrome mode, much like your eyes have trouble seeing color in a dark room.
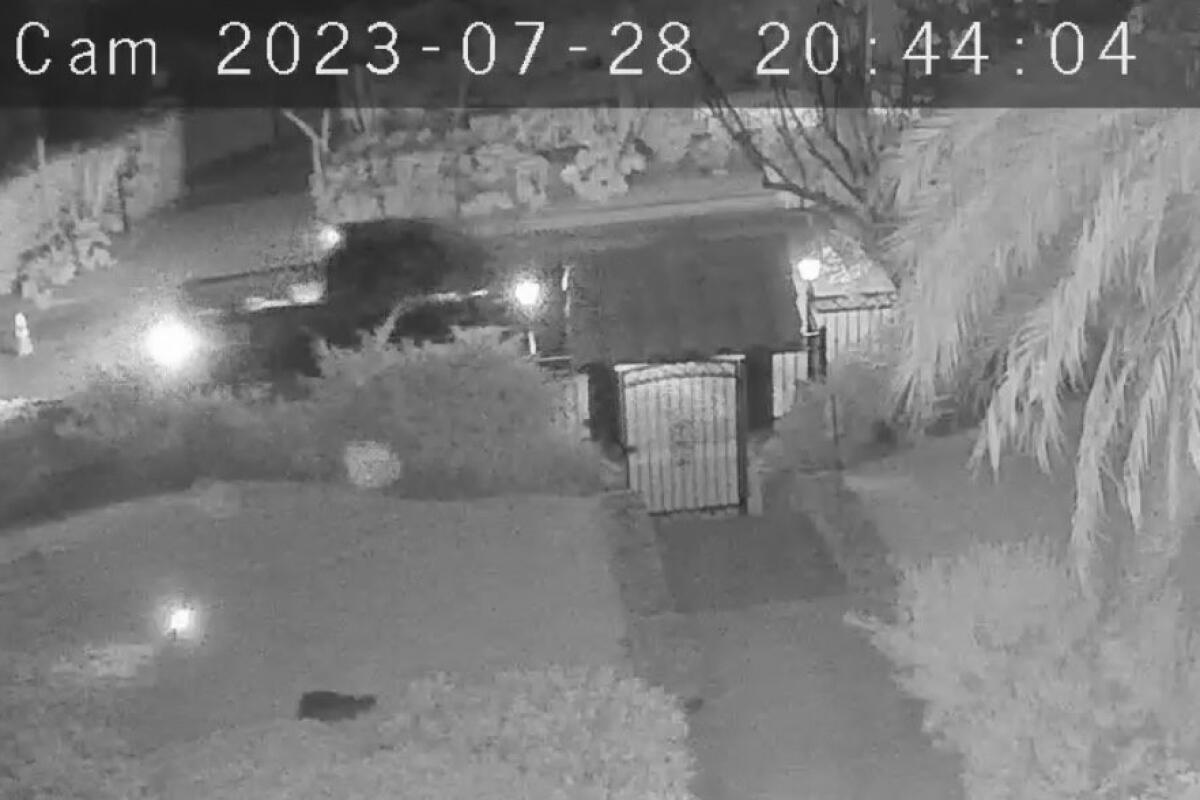
Many cameras use infrared, or IR, light for night vision. IR light is outside the range that people can see. It helps the camera detect shapes, faces, and movement, but the image usually appears black and white.
A black-and-white image can be normal if:
• The camera is operating at night
• The area has very little visible light
• Night vision mode is turned on
• The camera uses an IR-cut filter
• The camera is designed for monochrome night viewing
The key question is whether the image changes back to color during the day. If it does, the camera is likely working as designed. If it stays black and white in bright daylight, you may have a setting, connection, or hardware problem.

Common Reasons Your Security Camera Shows Black and White Video
There is no single answer to why is my security camera black and white. Several parts of the camera system can affect color.
The camera is in night vision mode
This is the most common reason. A light sensor inside the camera measures the scene. When the light level drops, the camera moves an IR-cut filter and turns on infrared LEDs.
This process improves night visibility. It also removes most color from the image.
Some cameras switch to night vision too early. A camera under a porch, roof, tree, or balcony may think it is nighttime even when the sky still looks bright to you.
The area has too little visible light
A camera may have enough light to show an image but not enough light to show color. This is an important difference.
For example, a driveway may look bright under a small infrared lamp. Yet the camera may still show a black-and-white image because infrared light does not provide normal color information.
Adding a soft white security light can help the camera remain in color mode. Avoid pointing a very bright light directly into the lens, since glare can make the image worse.
The IR-cut filter is stuck
The IR-cut filter blocks infrared light during the day. At night, it moves away so the camera can use IR light.
If the filter gets stuck in night mode, the camera may remain black and white in daylight. You may also hear a faint click when the filter changes, although not every camera makes an audible sound.
Dust, age, moisture, or a mechanical fault can prevent the filter from moving correctly.
Night vision is forced in the camera settings
Many camera apps and recorders offer choices such as:
• Auto
• Color
• Black and white
• Smart night vision
• Infrared
• Full-color night vision
If someone selected black and white or infrared mode, the camera may not return to color. Check both the camera app and the digital video recorder settings.
Some systems have separate settings for live view and recording. The live image may be in color while saved video remains black and white, or the reverse.
The image sensor is aging or damaged
The image sensor captures light and turns it into video. Over time, heat, moisture, power surges, and general wear can reduce its ability to capture color.
A damaged sensor may show:
• A constant gray image
• Strange purple or green colors
• Very dark video
• Blurry images
• Flickering or unstable video
If the camera stays black and white after a reset and works correctly with another cable, the sensor may be failing.
The cable or connector has a problem
A loose connector can affect video signals. This is common with analog cameras, coaxial cable, power plugs, and outdoor junction boxes.
A cable problem may cause more than black-and-white video. You may also see lines, rolling images, noise, loss of video, or color that changes when the cable moves.
Moisture inside an outdoor connector is another common cause. Water can enter through a poorly sealed connection and slowly damage the signal.
The power supply is weak
Security cameras need stable power. If the voltage drops, the camera may lose infrared control, switch modes, or produce poor video.
This can happen when:
• The power cable is too long
• The power adapter is the wrong type
• Several cameras share a weak power supply
• A battery camera has a low charge
• Outdoor temperatures reduce battery performance
Check the voltage and current requirements printed on the camera or power adapter. Never guess when replacing a power supply.

How to Fix a Black-and-White Security Camera
You can often find the cause of why is my security camera black and white with a few simple checks. Start with the easy steps before opening the camera or replacing parts.
1. Check the image during the day
Look at the camera in strong daylight. Wait a few minutes after sunrise or move a safe distance from the camera.
If the picture returns to color, the camera is likely using normal night vision. If it remains black and white, continue with the next steps.
2. Review night vision settings
Open the camera app, web page, or recorder menu. Look for image, display, day and night, or infrared settings.
Set the mode to Auto. If the camera supports it, test Color mode during the day. Do not leave color mode enabled at night unless the area has enough visible light.
3. Clean the camera lens
A dirty lens reduces light and may cause early night mode. Clean the lens with a soft microfiber cloth.
Do not use rough paper towels or strong cleaning chemicals. A small smear can spread glare from headlights and make the video look worse.
4. Improve the lighting
Add a steady white light near the viewing area. A motion light can work, but it may cause the camera to switch between color and night mode each time it turns on.
For steady color video, use a constant low-level light. Make sure it lights the scene rather than shining into the camera lens.
5. Restart the camera
Unplug the camera or turn off its power for about 30 seconds. Then reconnect it and allow it time to start.
For a battery camera, remove and reinstall the battery if the manufacturer allows it. A restart can clear a temporary software or night vision control error.
6. Inspect power and connections
Check every connector from the camera to the recorder or network switch. Look for:
• Loose plugs
• Bent pins
• Cracks
• Rust
• Water
• Frayed cable covers
If possible, test the camera with a short known-good cable and a correct power adapter. This helps separate a camera problem from a wiring problem.
7. Update the camera firmware
Manufacturers sometimes fix image, exposure, and day-and-night switching issues through firmware updates. Use the official app or support page for your model.
Do not interrupt power during an update. A failed update can leave the camera offline.
8. Reset the camera
A factory reset can remove incorrect image settings. Write down your Wi-Fi details and camera settings first, because a reset may erase them.
Use the reset button only as a later step. If the camera is part of a larger system, confirm that you know how to add it again before resetting it.
9. Test the camera in another location
Move the camera temporarily to a bright indoor area. If it shows color there, the original location may be too dark or may have a lighting problem.
If it stays black and white in bright light, the camera, cable, or configuration is more likely at fault.

How to Tell if Black-and-White Video Is Normal
Security camera night vision is often better in black and white than in poor color. A monochrome image can show sharper edges and less noise when light is limited.
You may notice that the image becomes black and white at roughly the same time each evening. That pattern usually indicates normal automatic switching.
Black-and-white video is probably normal when:
• It happens only after sunset
• Infrared LEDs glow faintly at night
• The camera returns to color in the morning
• The image is clear and stable
• The camera manual describes infrared night vision
The behavior may be abnormal when:
• The image never returns to color
• Daylight video is gray
• The picture has lines or heavy noise
• The camera changes modes every few seconds
• One camera is black and white while matching cameras are in color
Keep in mind that some cameras advertise “color night vision.” This feature still needs visible light. It does not create color from complete darkness. If there is no visible light, even an advanced camera may switch to black and white.

Color Night Vision vs. Infrared Night Vision
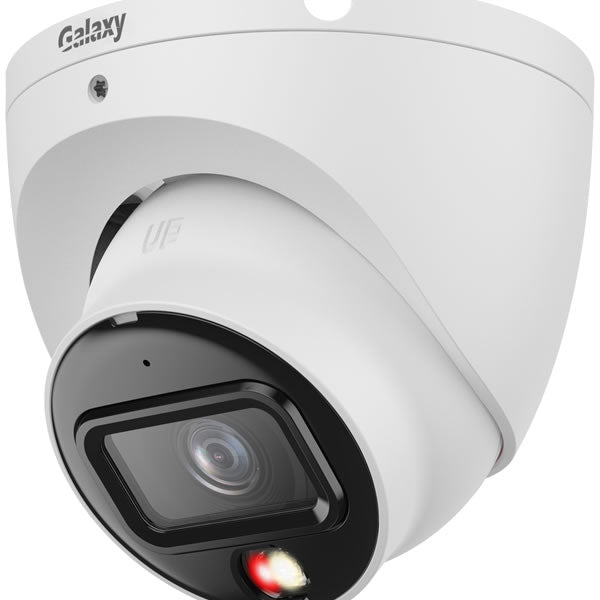
Color night vision uses visible light from the environment or from a built-in white LED. It can show clothing colors, vehicle colors, and other details that monochrome video cannot.
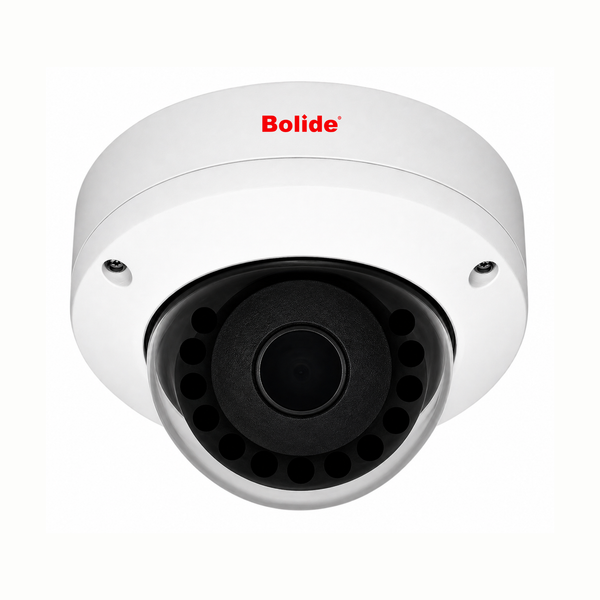
Infrared night vision uses invisible IR light. It usually produces a black-and-white image but can work in much darker conditions.
Benefits of color night vision
• Easier identification of clothing and vehicles
• More natural-looking video
• Better detail when enough light is available
• Useful for entrances, driveways, and shops
Limits of color night vision
• It needs visible light
• White LEDs may disturb neighbors
• Bright lights can create glare
• Low light can add grain and blur
Benefits of infrared night vision
• Works in very dark areas
• Does not require bright visible lights
• Uses less visible illumination
• Can provide consistent night coverage
Limits of infrared night vision
• Video is usually black and white
• Reflective objects may look very bright
• Spiders and insects can trigger motion alerts
• Glass can reflect IR light back into the lens
Choosing between the two depends on the location. A front door may benefit from color with a soft porch light. A remote backyard may work better with infrared.
Troubleshooting Different Security Camera Systems
The right fix for why is my security camera black and white depends on the type of system you own.
Wi-Fi cameras
For a Wi-Fi camera, check the app first. Make sure night vision is set to Auto and that the camera has a strong wireless signal.
A weak signal usually causes freezing or disconnection rather than black-and-white video. Still, some smart cameras may lower video quality or behave oddly when the connection is unstable.
Wired IP cameras
For an IP camera, inspect the Ethernet cable, network switch, and Power over Ethernet connection. A damaged cable may supply data but cause unstable operation.
Try another PoE port if one is available. Confirm that the switch provides enough power for the camera, especially if infrared LEDs turn on at night.
Analog cameras
Older coaxial systems can lose color because of cable damage, poor connectors, incorrect video format, or recorder settings.
Check whether the recorder uses the correct format, such as TVI, CVI, AHD, or CVBS. A mismatch may cause no image, poor image quality, or unusual colors.
Battery cameras
Battery models may reduce night features to save energy. Check the battery level, temperature, and power-saving settings.
Some battery cameras use infrared mode by default because full-color night vision requires more power. This is normal unless the product specifically supports full-color night recording.
Practical Lessons From Camera Troubleshooting
One useful lesson from hands-on camera checks is to change only one thing at a time. If you replace the cable, reset the camera, and change the lighting all at once, you may fix the issue without learning what caused it.
A simple test order saves time:
- Check whether the problem happens during daylight.
- Review day-and-night settings.
- Clean the lens.
- Restart the camera.
- Test the power and cable.
- Try another location.
- Reset or replace the camera if needed.
Another common mistake is assuming that more infrared always means a better image. Too much IR can create a bright white spot on a nearby wall, license plate, or window. Move the camera, reduce reflections, or use a separate IR illuminator when needed.
For outdoor cameras, sealing matters. Use weatherproof connectors and create a drip loop so water does not run along the cable into the connection. Small installation details often prevent large image problems later.
When to Replace or Repair the Camera
You may need professional help when the camera stays black and white in bright daylight after basic troubleshooting.
Consider repair or replacement if:
• The lens and connections are clean
• The camera has stable power
• The settings are correct
• A different cable does not help
• A factory reset does not help
• The image sensor or IR filter appears damaged
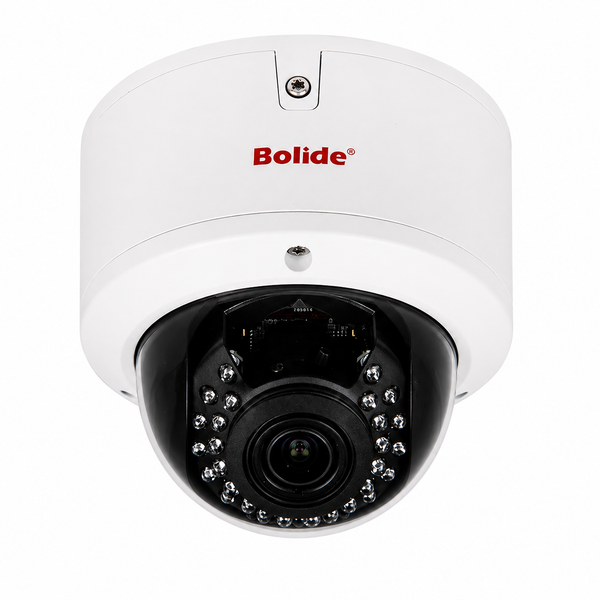
Before buying a replacement, check compatibility. Match the video format, resolution, power type, lens angle, mounting style, and night vision needs.
A new camera may not solve the problem if the real cause is a weak power supply or damaged cable. Test the system before spending money on new hardware.
Frequently Asked Questions About Why Is My Security Camera Black and White
Why is my security camera black and white during the day?
The camera may be stuck in night vision, have a faulty IR-cut filter, or be receiving too little light because of a dirty lens or shaded location. Check the day-and-night setting and test the camera with a different cable and power source.
Is it normal for a security camera to be black and white at night?
Yes. Most infrared security cameras switch to black and white at night because infrared light helps create an image but does not provide normal visible color. The camera should usually return to color when daylight returns.
How do I change my security camera from black and white to color?
Open the camera or recorder settings and select Auto or Color under the day-and-night, infrared, or image menu. Color mode may not work in darkness unless the scene has enough visible light.
Can a bad cable make a security camera black and white?
Yes, a damaged or loose cable can affect the video signal and cause color loss, lines, noise, or an unstable image. Test the camera with a short, known-good cable to see whether the problem follows the cable.
Why does my camera switch between color and black and white?
The light level may be close to the camera’s day-and-night threshold. Reflections, headlights, motion lights, or changing weather can also confuse the light sensor. Set the mode to Auto and adjust the switching threshold if your camera provides that option.
Does black-and-white security footage mean the camera is broken?
Not always. Black-and-white footage is expected when infrared night vision is active. It is more likely to indicate a fault if the image remains monochrome in bright daylight or shows other problems such as flickering, lines, or severe noise.
Conclusion
The most common reason why is my security camera black and white is normal infrared night vision. If the image returns to color during the day, your camera is likely doing its job. If it stays monochrome, check the lighting, settings, lens, power, cables, IR-cut filter, and image sensor in that order.
Start with simple tests and change one thing at a time. This approach can save money and help you find the real cause faster. Try the steps above today, then share your camera model and symptoms in the comments or explore your manufacturer’s support guide for model-specific help.
Recent Posts
Parts of a 35mm Camera: Complete Guide to Every Key Part and Its Function
Learn the parts of a 35mm camera, what each part does, and how the lens, shutter, film chamber, viewfinder, and controls work together.
Parts of a Camera Canon: A Complete Guide to Canon Camera Parts and Functions
Learn the parts of a Canon camera, what each part does, and how the lens, sensor, shutter, controls, viewfinder, and screen work together.